Trueblue

Showing posts with label tile. Show all posts

Thursday, July 13, 2017

Easy Kitchen Update

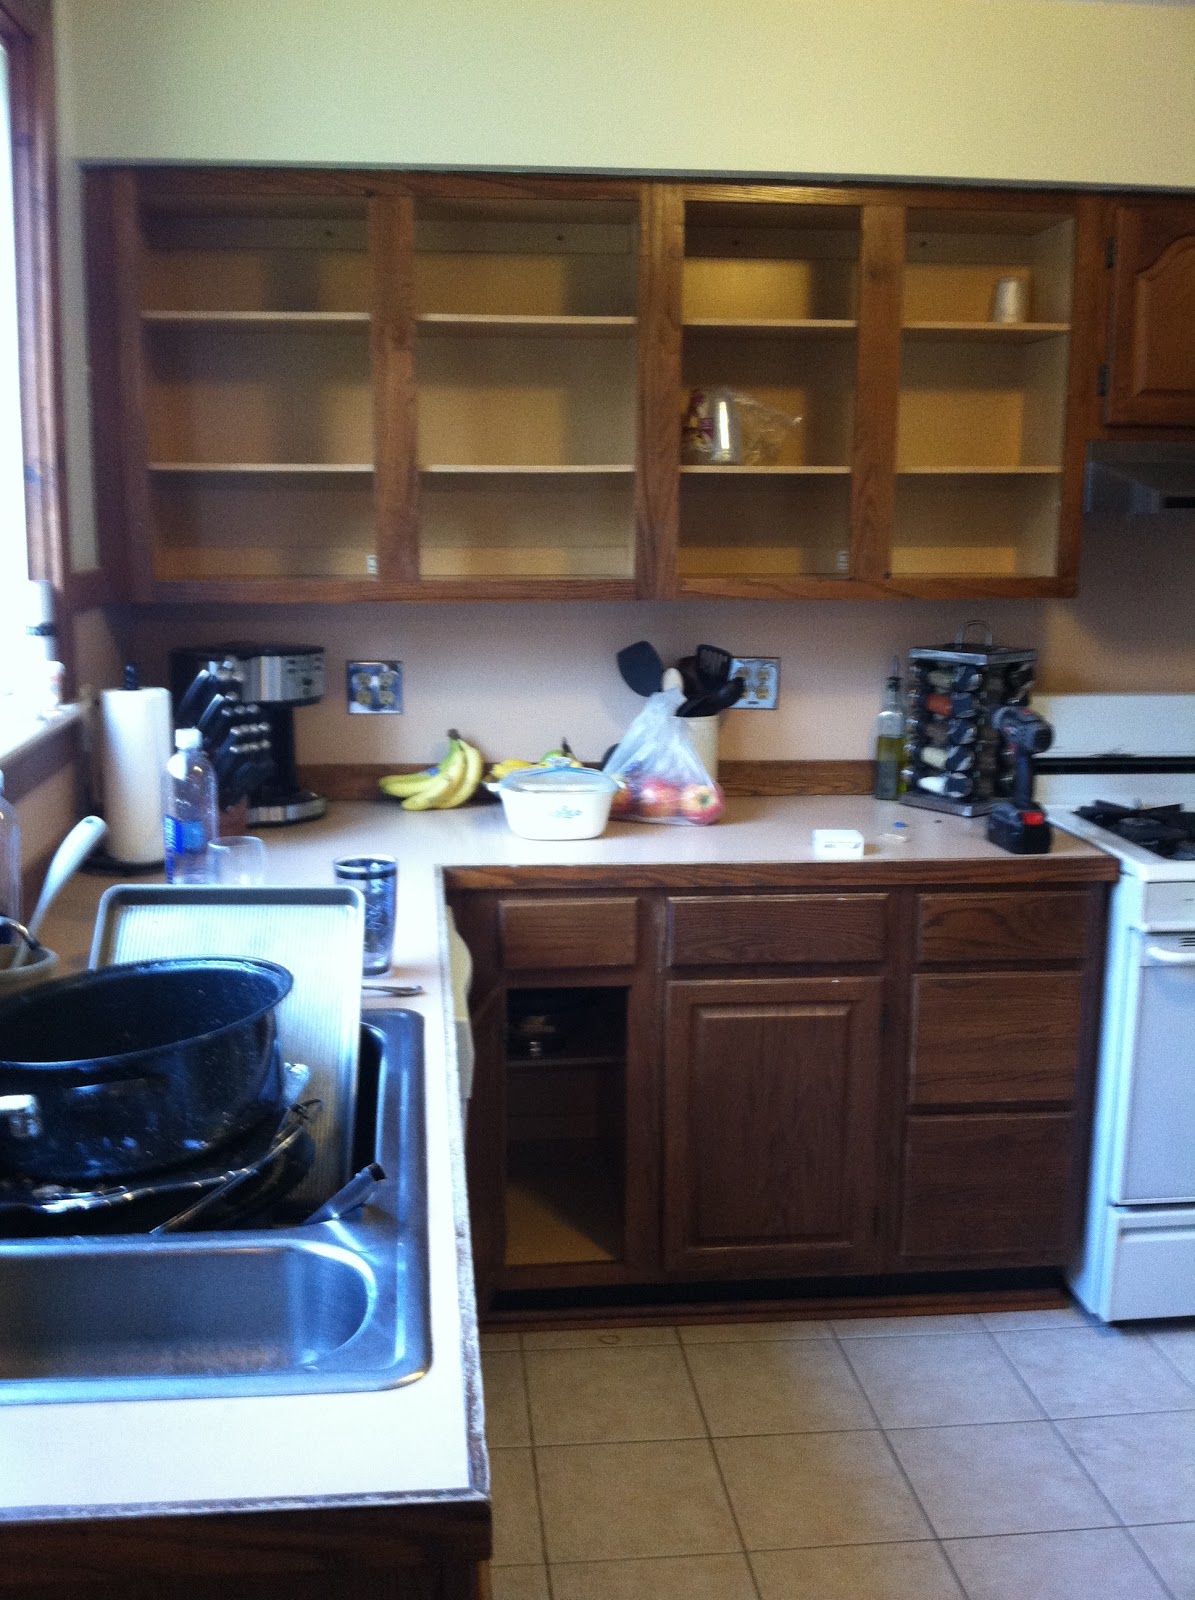
Although we have a few projects in the cue right now, we don't have any current before or afters to show.  I thought we would do a throwback to our Ferndale kitchen, where we updated the space on a budget.  We were not as ambitious as we were in our current house; we wanted to keep the footprint of the kitchen, and the cabinets were still in good shape. Caution: these photos were not taken on a fancy camera, so they are quite blurry.


The first thing we did was take off all of the doors and drawers and sand them.  I do not have pictures of the process, but just imagine a lot of dust and sweat.  We then painted each door, drawer, and the cabinet boxes a bright white.  We made sure to use a good quality paint that would stand up to the wear and tear of a kitchen.  


The counters were a pale pink color- it looked like a ice cream shoppe.  We decided to invest some money in a black granite countertop.  We found a local granite guy that gave us a pretty good deal, all we had to do was demo the countertop ourselves!
  
He's so strong!


We ordered an undermount sink from the granite guy, so they installed the sink for us when they installed the countertops.  

Next up: updating the backsplash.  I had never installed a backsplash before, but I was pretty sure that between Jeff, myself, YouTube, and our incessant watching of HGTV, we could figure it out.  We went with a simple subway tile that came on a sheet.  This made it so much easier to install!  We were a little burned out on projects at this time, so we made a pact.  Every night we would work on the backsplash after dinner until 9 o'clock.  This way we could break up the project into smaller chunks, but we could still relax in the evening.  It took a little longer than installing tile should have, but it saved our sanity.  


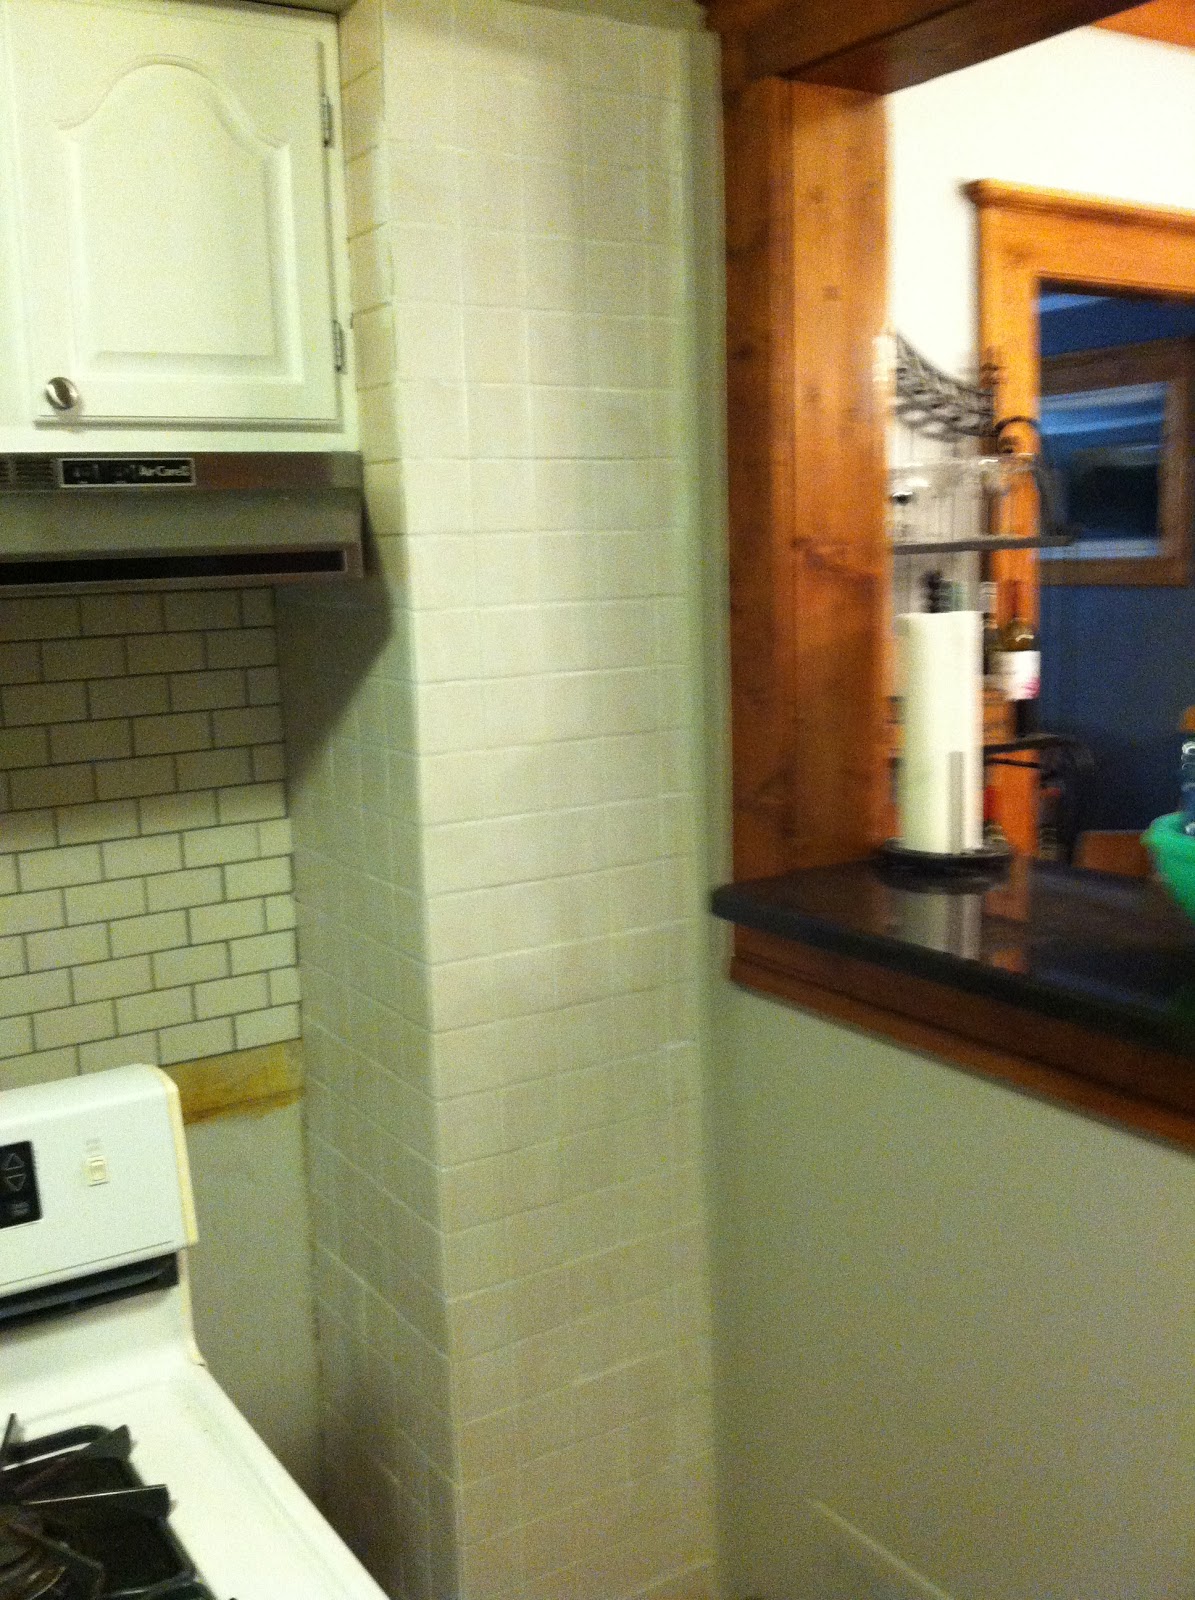
You may be looking at that tile on the right and think, "Hey, that tile looks pink."  Well, it was.  Next to our stove was the chimney, which was covered with a light pink tile.  I seriously wanted ice cream every time I waked into that kitchen!  Jeff was able to look at the brick from the other side of the chimney, and it was not cute. Where cute, rustic 1920s brick should be, was ugly gray cinder block.  Wah, wah....We ultimately decided to paint over the tile.  Technically, you can't paint over tile, because it will just scratch off or rub off when you try to clean it.  We found this cool product by Rust-oleum that allows for latex paint to adhere to tile.  Now, all the tile color matches!  


The last thing to change was the mint green paint.  After a few coats of gray paint, our kitchen renovation was complete!  What do you think? 

Before: 

And after: 

Sunday, April 9, 2017

Inexpensive fireplace makeover

One of the reasons we fell in love with our home was because of the fireplace. There is nothing cozier than drinking hot chocolate (let's be real...wine) next to a fire on a chilly winter night.  Unfortunately, our fireplace needed a serious makeover.  We didn't have a ton of money for the makeover, so we knew this project had to be more of a "freshening up."

The color of the brick needed a fresh coat of paint, which was painted with Sherwin Williams Pure White. Then, I pried up the tiles.  I thought this would take forever, but lucky for me, the previous owners did a lousy job of installing the tile.  They used some sort of construction glue, so the tiles popped right up.


Now for the fun part...tile!  I felt pretty confident with my tiling abilities, having tiled multiple backsplashes, and a floor to ceiling shower, so I wanted to try something new. After looking at multiple inspiration photos, I decided to go with a marble herringbone pattern. I know what you're thinking...marble?? That's so expensive! Since the hearth was such a small area, the tile was inexpensive, only $5.98 a box. Here is the tile we used.


Using inspiration from Young House Love's fireplace makeover, I laid out the tile to find the pattern I liked.  I decided I wanted to have a border of the marble tile around the hearth, then have the herringbone design on the inside.  This led to many, many, many cuts with the wet saw.  We had to purchase a special tile saw that was specially designed for natural stone.  With HGTV playing in the background, it took several hours to set the tile. Once the thinset set, it was time to grout.  

Tile mid-grout
The hearth remained like this for a few months.  Again, we get about 90% of a project done, then move onto something else.  Fast forward a few months, Jeff added some white moldings around the tile, I ran a bead of caulk between the tile and the moldings, painted...and voila! The hearth is complete!


One last time, let's see the before: 

Aaaaaaannnd after: 


Overall, the only costs for this update were the tile, grout, moldings, and new blade.  We had the grout, paint, and thinset.  I think overall, we spent under $100 on this project.  Isn't it cozy? 

Monday, February 20, 2017

Final Kitchen Reveal!

It's only been 10 months since our last update on the kitchen, but that's what happens when you procrastinate actually finishing a project 100%.  In last update on our kitchen remodel, our kitchen still needed a back splash and the doorway moldings finished.


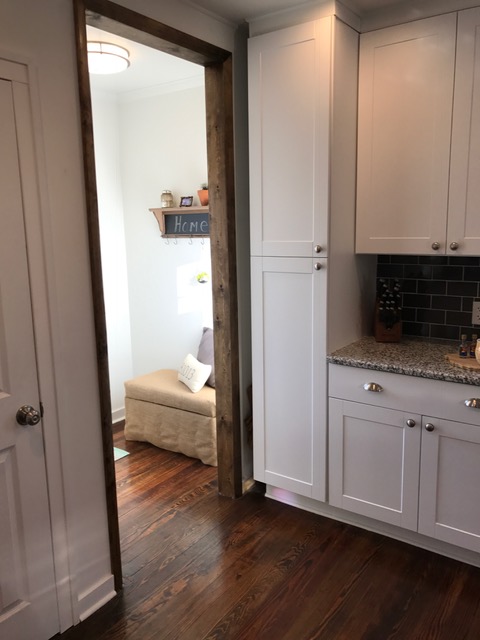
While we were at it, we decided that the little nook that used to have a booth needed to be demoed and turned into a mudroom, complete with new drywall, lighting, a door, and a deck.  Nothing too strenuous.
Good-bye nook!


I was able to crank out the backsplash in a few hours on a cold, Michigan weekend.  The dark gray subway tile added some much needed color to our stark white kitchen.  It also tied into the dark gray flecks in the granite countertops.

On the other hand, the mudroom needed a lot of work, some of which we couldn't do ourselves.  The old area used to have a window that looked out into the yard.  We wanted to install a door there for easier access to the backyard, shed, and driveway.  Neither Jeff nor I knew how to install an exterior door, so we hired out a local contractor, who also happens to be our friend, to install the door.  With his expertise, he installed the door in less than a day and we had a door...to nowhere.  I don't have any pictures showing the process, whoops.

We had planned to attach a deck to our house for entertaining, grilling, and chilling.  This was also out of our wheelhouse, so we hired a local deck guy to build our deck for us.

Now we have a back door and extra space to entertain in the summer!

Looking into the new mudroom.

Walking into the mudroom from outside.


With some artwork, a bench, and a few found treasures,  our kitchen is now complete.

Look at these cute prints we found to rep our hometowns...so cute!


Now for the gallery of photos!


Just for fun, here's the before and after:


If you are interested in seeing the first part of this process, check it out here.  Happy Monday!

Sunday, February 8, 2015

All I do is tile, tile, tile, no matter what

Seeing that it has been almost THREE months since we updated you on our *quick* bathroom renovation, we feel our loyal readers should probably be filled in on our progress.  Our bathroom renovation is complete (sort of) but there were so many things we learned along the way, we wanted to break this renovation into several posts.

When we last spoke, we had started demolition of the wall tile over Thanksgiving break.  Since we had the long weekend, we thought "Easy-peasy, demolition will be over by this weekend, backer board will be on the walls by Sunday and we can start tiling." WRONG. Do not for one minute think that the demo on those HGTV shows is realistic.  Demo SUCKS.  The hitting and destroying things part is really cool, but then the next day you have Stay-Puff marshmallow man hands and they will barely grasp a pencil.  On top of the pillow hands, the clean up part is the worst.  Every 5 minutes we had to stop to pick up chunks of tile/ concrete/ drywall and carry them down our carpeted stairs (guess how clean those are now) to the trash.  Demolition continued all week after work each night, and we even had to enlist some big guns (who wished to remain anonymous in the blogosphere) to help us finish before the plumber was to arrive the next weekend.


Underneath our floor.

The plan for the plumber was to move our shower head from the short wall to the left side of our bathroom, as well as move the toilet line from the left side of the bathroom to the right side.  This would free up space for our double vanity and better utilize our floorplan.  The plumber also put in the shower base for us, which made us do a little happy dance because it gave us a visual of what our shower would look like shortly.  Ha.

The next week was dedicated to putting up the Hardie Board.  This is essentially the water-proof cement board that would go under our shower tile. Jeff was in charge of research on how to cut and install the board.  We started by using a box cutter with a carbide blade to cut the stuff.  We followed this video https://www.youtube.com/watch?v=3ULbcdphAls to a T.  Here is the result:


Hulk Smash!

This happened multiple times and resulted in several trips to the hardware store. As you may have guessed, there was a lot of cursing this week, and in my delirium, I started singing the Barney theme song.  I changed the lyrics instead of saying "love," the lyrics were changed to "hate."  It looked something like this: Me- singing the modified Barney song to the Hardie board.  Jeff- rolling his eyes and hulk smashing more board.  Not my most creative moment, but it got my sentiment across.

We decided to take a break and do a little more research.  We realized that yes, we had to use a carbide blade to cut the board, but it had to be some fancy tool that had a hook to it, which would assist with the cutting.
Once we had the appropriate tool, life was so much easier. We were able to get the rest of the board up and in place. 
Blurry picture of the window
The hangover bench. 


Once that was complete, we had to mud the joints in the shower so no water would seep in.  We allowed a day to dry and then it was time for the waterproofing.  All of our research revealed that using Red Guard in your shower would provide the best waterproof barrier.  This stuff goes on as a hot pink color and dries red (hence the name).  Once the first coat was dry, we had to put on the second and final coat.  

First coat of Red Guard


It was FINALLY time to tile!  In our design, we wanted our entire shower to be floor to ceiling white subway tile.  The shower space is about 8 x 3 x 8, so we needed multiple boxes of subway tile.  I am a bit of a perfectionist when it comes to symmetry and tiling, so the process was very laborious.  Jeff was on tile saw and mortar mixing duty, while I spaced out and mounted the tile.  This process took so long, we were still tiling as of Christmas weekend.  


Mid-tiling


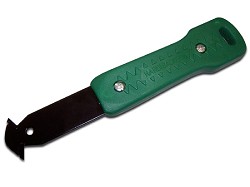
We decided that we wanted to have white subway tile and gray grout in our shower for a few reasons.  If we picked the wrong shade of white grout, it might look like we had super white tile and yellowing grout, and down the road it would show every unclean spot in the shower.  Jeff misread the directions on the grout and/or waited too long, and the grout would not come off with water and a sponge.  I was out of town, and told him to leave it for me to handle.  Unfortunately, we do not have a picture of the over-grouted walls.  I tackled the project with a scraper about this size:
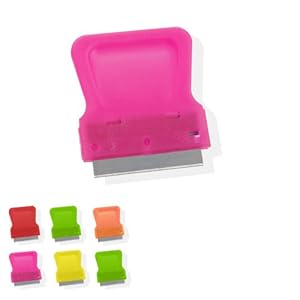
With "Orange is the New Black" set on my iPad, and a whole pot of coffee brewed, I spent the entire day in the shower scraping off grout. And I still wasn't finished.  But I did have a small desire to nickname someone Crazy Eyes.  It took a few more days of scraping to finish the project.  Once the grout was complete, it was time to seal it.  We used a spray grout sealer that is just spray and wipe.  This was probably the easiest step of the whole process!  Jeff installed the shower head and handle, and we were now ready to use our shower!!

Here is a video of the finished product:


Stay tuned, we still have posts on drywall, beadboard, floor installation, and all of the finishing touches!  


Wednesday, November 26, 2014

It's hammer time!

After many months spent showering in our teeny tiny shower stall, we decided that it's finally time to demo the bathroom! The previous owners created a huge bathroom space, but for some reason only installed a small standup shower.  Not so fun when trying to shave your legs.

After much hemming and hawing, we decided to redo the entire bathroom ourselves, except for the plumbing.  Here's a short video showing the before of the bathroom.


After about 5 minutes of valiantly trying to remove tile from the wall, we had a foot-wide hole in the drywall.  After a quick Google search, the best solution for removing tile from drywall is to actually remove the drywall.  Just one more thing to add to our budget!

We decided the fastest path to taking down drywall and tile was to use a sledgehammer.  If you ever need to get out some pent-up aggression, demoing a wall is definitely for you!  After a few hours of breaking tile and drywall, here is what the bathroom looks like now:


Our to-do list for the week includes:
Take out the shower stall
Remove the sink and mirror
Remove the toilet
Finish removing all drywall (to be replaced with cement board)
Remove all floor tile and backer board
Eat lots of Thanksgiving food
Root for the Chicago Bears!

And all of this needs to be finished by Saturday.  A large task, but definitely achievable.  Stay tuned for the continuation of our remodel. Happy Thanksgiving everyone!