Trueblue

Friday, July 28, 2017

Closet door DIY

Although our office isn't at a point to show a big before and after, we wanted to share a simple DIY project with you that made a HUGE statement in our office.  We have a small closet in our office, and it didn't come with doors.


It is a pretty basic closet, with a hanging rod and two shelves.  Initially, I thought to build some shelves, take out the hanging bar, and get some matching baskets for storage.  For some reason, building shelves seemed so daunting to me (we remodeled an entire kitchen, but shelves were too much) so I procrastinated.  In the meantime, all of our random closet stuff that didn't fit anywhere else in our house ended up here.  After staring at a mound of random bins for a year, we decided to scrap the shelves, and add closet doors.  

We measured our opening, then took a trip to Menards.  We bought the cheapest flat bi-fold doors they offered in our size, and headed home.  Obviously, basic bi-fold doors are so basic, so I searched for some Pinspiration and found it through Monica Wants It.  


I then headed to Home Depot to purchase lattice strips to trim out the doors.  First, we installed the doors to find out how much of the doors would be covered by the trim in the opening.  We had roughly a half an inch on each side, so I framed out the rectangle shape with the lattice trim.  

The next part was going to be tricky.  I wanted to criss-cross the trim without having to use geometry and degrees and all that fancy stuff.  I laid out the trim and eye-balled it and drew in the cut line.  I must have some pretty good eyes, because we only had to modify the cut once! 


Once the trim was in, I filled the holes with wood putty, sanded, and painted the doors with three coats of  Sherwin-Williams Dewmist Delight.  I installed some super-glam handles that I found at Hobby Lobby.  Viola! An easy closet door update for a little bit of effort! Now we can't see all of our junk hiding behind the doors! 


Thursday, July 13, 2017

Easy Kitchen Update

Although we have a few projects in the cue right now, we don't have any current before or afters to show.  I thought we would do a throwback to our Ferndale kitchen, where we updated the space on a budget.  We were not as ambitious as we were in our current house; we wanted to keep the footprint of the kitchen, and the cabinets were still in good shape. Caution: these photos were not taken on a fancy camera, so they are quite blurry.


The first thing we did was take off all of the doors and drawers and sand them.  I do not have pictures of the process, but just imagine a lot of dust and sweat.  We then painted each door, drawer, and the cabinet boxes a bright white.  We made sure to use a good quality paint that would stand up to the wear and tear of a kitchen.  


The counters were a pale pink color- it looked like a ice cream shoppe.  We decided to invest some money in a black granite countertop.  We found a local granite guy that gave us a pretty good deal, all we had to do was demo the countertop ourselves!
  
He's so strong!


We ordered an undermount sink from the granite guy, so they installed the sink for us when they installed the countertops.  

Next up: updating the backsplash.  I had never installed a backsplash before, but I was pretty sure that between Jeff, myself, YouTube, and our incessant watching of HGTV, we could figure it out.  We went with a simple subway tile that came on a sheet.  This made it so much easier to install!  We were a little burned out on projects at this time, so we made a pact.  Every night we would work on the backsplash after dinner until 9 o'clock.  This way we could break up the project into smaller chunks, but we could still relax in the evening.  It took a little longer than installing tile should have, but it saved our sanity.  


You may be looking at that tile on the right and think, "Hey, that tile looks pink."  Well, it was.  Next to our stove was the chimney, which was covered with a light pink tile.  I seriously wanted ice cream every time I waked into that kitchen!  Jeff was able to look at the brick from the other side of the chimney, and it was not cute. Where cute, rustic 1920s brick should be, was ugly gray cinder block.  Wah, wah....We ultimately decided to paint over the tile.  Technically, you can't paint over tile, because it will just scratch off or rub off when you try to clean it.  We found this cool product by Rust-oleum that allows for latex paint to adhere to tile.  Now, all the tile color matches!  


The last thing to change was the mint green paint.  After a few coats of gray paint, our kitchen renovation was complete!  What do you think? 

Before: 

And after: 

Wednesday, June 28, 2017

A little love for our neglected exterior

Confession: our house was not the prettiest thing to look at from the outside.  It was a face that only a mother could love.


It wasn't hideous, it just needed...love.  And A LOT of it.  We purchased our home in the winter, so we didn't have an opportunity to work on the outside right away.  Not to mention we were in the middle of a major kitchen renovation, but I digress.  

The first things that had to go were the big, ugly bushes that hid the cuteness of the front porch.  Removal of the bushes was not easy.  We had to hack off the branches, then dig up the enormous roots.  We probably could have used some heavy equipment to dig them up, but a good ol' shovel and elbow grease got them out after about 20 hours of work.  


We also found some landscaping stones buried in the ground while we were digging, so for free 99, we were able to upgrade the flower beds.

Is that hunter green color driving you crazy yet?  It.Is.The.Worst.  Everyday I would cringe looking at our house.  Finally, we found an outdoor paint color that we liked that worked on concrete.

Before:


After: 

Yay! All of our hard work paid off...sort of.  Although the outside was passable for now, we still had forest green shutters, a forest green door, and gutters that were coming off of the roof.  The summer of 2016 passed us by without making those updates. Fast forward to this spring...We decided to go with a basic black shutter to complement the roof and the light blue of our door.  Then we found a local company to install new gutters, so now our roof line doesn't look crooked anymore.  Finally, we updated our flower beds with some new stones, flowers, and mulch.  


Now, instead of being ashamed of the way our home looked from the outside, we now have neighbors that stop by and compliment the work we've done.  I would still like to get a porch swing, change out the light fixture, and paint the ceiling to match the front door, but I think we will save that for next summer.  For now, you can catch Jeff and I enjoying a cold beverage on our revamped porch!


Tuesday, June 27, 2017

Creating a drop zone

Picture this: you get home for work, laden down with multiple bags, packages, mail, lunch bags...you get the picture. All of that stuff gets dropped onto the nearest flat surface, and continues to grow throughout the week, until you have a massive mess to clean.  The place that collects the most "stuff" is our dining room.  As soon as we come home, our things end up on the dining room table.  When we have guests over, we have to hurry up and pretend we have a clean house.  We have an IKEA bookcase in the dining room that collects piles of mail, coupons, shopping bags, and anything else that we try to squirrel away before guests come to visit.


I was tired of looking at the hot mess that was our dining room, so I did some research on how to create a drop zone.  Here are some simple steps that I followed to get our messy areas organized:

1- Figure out what you have.  My first job was to sort through all of the stuff to figure out what it was.  I put these into different categories: paperwork, dog accessories, magazines, coupons, home decor, and trash.

2- Choose how to organize it.  Once everything was separated into piles, I had to think of how it should be stored: baskets, file folders, containers, etc.  However it was to be stored needed to be functional and cute.  I'm not a huge fan of buying something just because it's pretty. It needs to be functional as well.

The dog accessories went into one of the cubed IKEA baskets.  Next, I found an old magazine file to sort out the magazines we get in the mail.  We can access them easily and they will actually be read!


 All home decor that was not being used, mainly candles, were also put into another IKEA basket.  Our mail was put into a cute brown gift box that I found at Target.


Now any mail that needs to be filed or saved for later can be put into the box.  Lastly, I really hated the way the dog cookies looked on the top shelf in the plastic container.  On a recent Target trip, I saw the cutest ceramic treat jar that matched the colors in our house.  Functional AND pretty? Check!


3- Create a system.  Create a system for when you need to go through your paperwork.  We know that roughly every two weeks, we need to go through the paper file and either purge, pay, or file away.  We will re-evaluate if this system works within the next few months.  If it doesn't, we may need separate file boxes for each of us, possibly a file box for coupons/ receipts, but time will tell if the extra boxes are needed.


Now that everything has a place, it is easier for us to keep our house tidy and to keep ourselves organized.  Does this mean our house is going to look perfect all of the time?  Doubt it.  But this does make it easier to find things as we jet out the door to go to work, or find that missing document we need for our taxes.  I hope that this small organization project will help motivate you to create a space of your own!


Monday, May 15, 2017

The One Room Challenge- What I Learned

If you are following our blog because you are family or friends, you may not be familiar with the One Room Challenge.  The One Room Challenge is an online design event, sponsored by House Beautiful, where bloggers tackle one room for 6 weeks and blog about it's progress.  I signed up as a guest participant to renovate our master bedroom with visions of a cozy, warm, relaxing oasis for Jeff and I to retreat to at the end of the day.  Well, life got in the way, so even though we were slowly renovating our master, we were not blogging about it.  Even though the event is over, we made some serious progress.  I thought our fans would like to see the midway progress, even though it isn't a finished product.  I'm also including some lessons we learned along the way...stay tuned.

Let's start at the beginning.  Just like in our Ferndale house, we did not have a vision for our master. We knew how we wanted it to feel, but we didn't have any inspiration.  When we moved in, it was already painted a light blue color, so we just moved in our furniture and worked on the rest of our house.  When the One Room Challenge came around, I knew it was the perfect event to get our butts in gear to design the room.


Jeff and I agreed that we wanted the color to be dark to give the room a cozy feel.  We ended up choosing HGTV Sherwin-Williams Blue Mystery, a moody dark blue.  We also knew that we wanted to have some sort of "wow" factor in our room, but we couldn't decide what that would be.  We played around with the ideas of bead board, a picture rail, or a unique paint pattern.  Ultimately, we decided that the area under the window, which houses a vanity that is never used, should become a window seat.  It would be great for a reading nook, extra storage, or a cozy place for our dogs to sleep.

Before we could start anything, we had an ancient water leak in the ceiling that needed to be scraped, mudded, and sanded.  After listening to the entire podcast of S-town (seriously, if you haven't listened to it yet, what are you waiting for?) the ceiling was complete, along with the paint.

If you follow us on Instagram (@renovatingmaplesonmanor) you may have seen our progress on the bench seat.  Jeff built the braces and had to move an electrical outlet that would have been covered up by the bench.  Next, we cut the plywood for the front and top of the seat.  After much hemming and hawing, we decided that the bench should open, so we added hinges.  After some moldings, primer, and paint, the bench was complete!

Although the room is not complete, here is a quick tour of our "after."


Our to-do's to finish the room include:
  1. Find a rug that has a pop of color (maybe a hot pink accent??)
  2. Buy a light fixture 
  3. Find some fun prints to hang in the window seat area
  4. Buy a plant for the left corner of the room
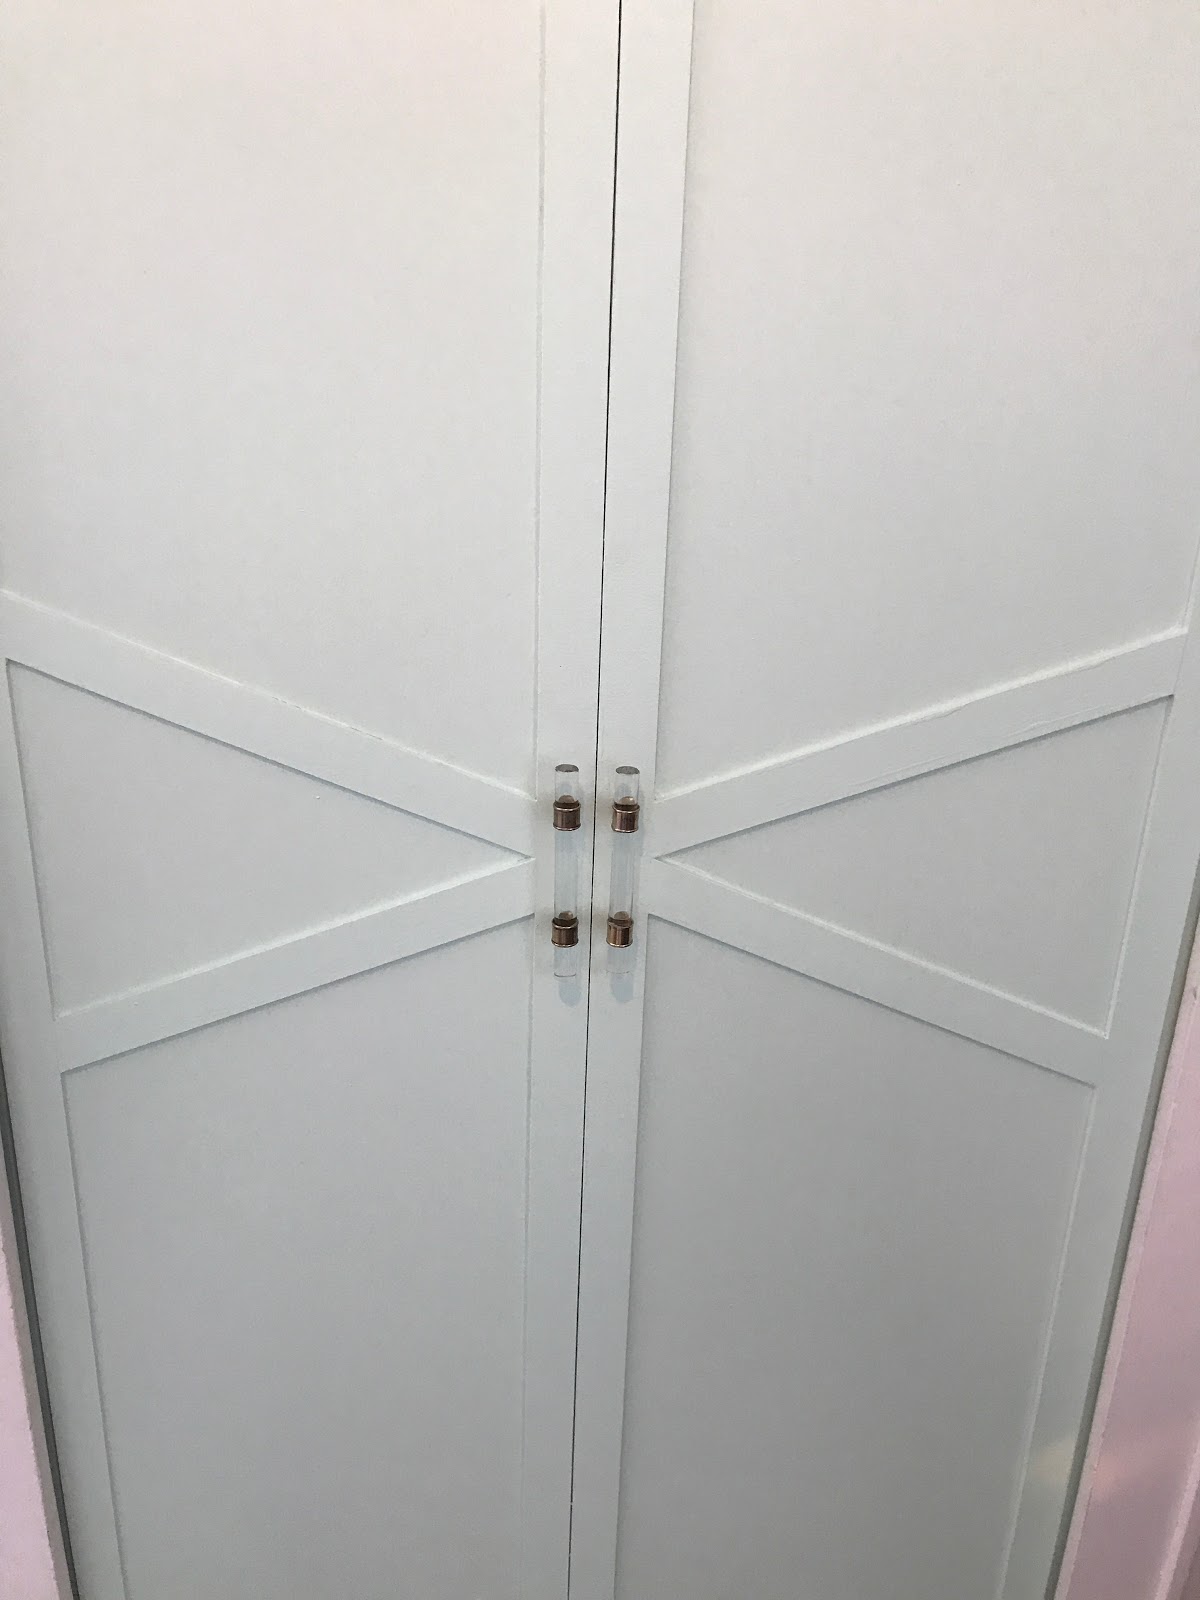
  5. Strip the paint off the door and return it to the natural wood tone
Although we missed the deadline and did not blog throughout the One Room Challenge, I'm still really proud of the progress we made over the past few weeks.  Our room feels cozy and luxurious, and it feels more like a retreat, rather than a to-do list.  

I did realize a few things while renovating this room, though.  The idea of a 6-week challenge to motivate people to commit to updating/ renovating/ designing a room is just what I needed to get moving.  I've learned that designing on a deadline for myself is not for me. Because our budget is tight, every piece of decor had to be considered before purchasing it.  I really wanted a tall plant (I'm looking at you Fiddle Leaf Fig) for the left side of the room.  Paying over $100 for a plant just wasn't in our budget.  Maybe down the line we can find a deal, but it's just not in the cards right now.  We also realized that we should have pulled the trigger on the light fixture we wanted when it was on sale.  Even though it's only $30 difference...it's still a $30 difference.  That's a lot on a teacher salary.  


Ultimately, Jeff and I have never had a "finished" master bedroom, and this makeover really makes relaxing at the end of the day feel like we have our own little sanctuary.  Now, to find a new book to read on the window seat!


Sunday, April 9, 2017

Inexpensive fireplace makeover

One of the reasons we fell in love with our home was because of the fireplace. There is nothing cozier than drinking hot chocolate (let's be real...wine) next to a fire on a chilly winter night.  Unfortunately, our fireplace needed a serious makeover.  We didn't have a ton of money for the makeover, so we knew this project had to be more of a "freshening up."

The color of the brick needed a fresh coat of paint, which was painted with Sherwin Williams Pure White. Then, I pried up the tiles.  I thought this would take forever, but lucky for me, the previous owners did a lousy job of installing the tile.  They used some sort of construction glue, so the tiles popped right up.


Now for the fun part...tile!  I felt pretty confident with my tiling abilities, having tiled multiple backsplashes, and a floor to ceiling shower, so I wanted to try something new. After looking at multiple inspiration photos, I decided to go with a marble herringbone pattern. I know what you're thinking...marble?? That's so expensive! Since the hearth was such a small area, the tile was inexpensive, only $5.98 a box. Here is the tile we used.


Using inspiration from Young House Love's fireplace makeover, I laid out the tile to find the pattern I liked.  I decided I wanted to have a border of the marble tile around the hearth, then have the herringbone design on the inside.  This led to many, many, many cuts with the wet saw.  We had to purchase a special tile saw that was specially designed for natural stone.  With HGTV playing in the background, it took several hours to set the tile. Once the thinset set, it was time to grout.  

Tile mid-grout
The hearth remained like this for a few months.  Again, we get about 90% of a project done, then move onto something else.  Fast forward a few months, Jeff added some white moldings around the tile, I ran a bead of caulk between the tile and the moldings, painted...and voila! The hearth is complete!


One last time, let's see the before: 

Aaaaaaannnd after: 


Overall, the only costs for this update were the tile, grout, moldings, and new blade.  We had the grout, paint, and thinset.  I think overall, we spent under $100 on this project.  Isn't it cozy? 

Sunday, March 5, 2017

Farmhouse style guest room refresh

Although our guest room was painted almost a year ago, it was only recently "finished" this week.  When we first bought our home, the room was a delightful lime green. It reminded me of Ecto-Cooler Hi-C drinks from the 80's.


We didn't have the time to do any crazy remodel to this room; but to be honest, it didn't really need anything.  All we wanted to do was paint and move in furniture.  After a weekend visit from mom and my favorite sister, the room was painted Sherwin-Williams Mindful Gray.  We wanted the room to feel peaceful and relaxing to our guests, and this color did the trick.


After a couple of new purchases and a few accessories stolen from other rooms, the cozy guest room is finished!


Who's ready to visit!?!