Trueblue

Friday, July 28, 2017

Closet door DIY

Although our office isn't at a point to show a big before and after, we wanted to share a simple DIY project with you that made a HUGE statement in our office.  We have a small closet in our office, and it didn't come with doors.


It is a pretty basic closet, with a hanging rod and two shelves.  Initially, I thought to build some shelves, take out the hanging bar, and get some matching baskets for storage.  For some reason, building shelves seemed so daunting to me (we remodeled an entire kitchen, but shelves were too much) so I procrastinated.  In the meantime, all of our random closet stuff that didn't fit anywhere else in our house ended up here.  After staring at a mound of random bins for a year, we decided to scrap the shelves, and add closet doors.  

We measured our opening, then took a trip to Menards.  We bought the cheapest flat bi-fold doors they offered in our size, and headed home.  Obviously, basic bi-fold doors are so basic, so I searched for some Pinspiration and found it through Monica Wants It.  


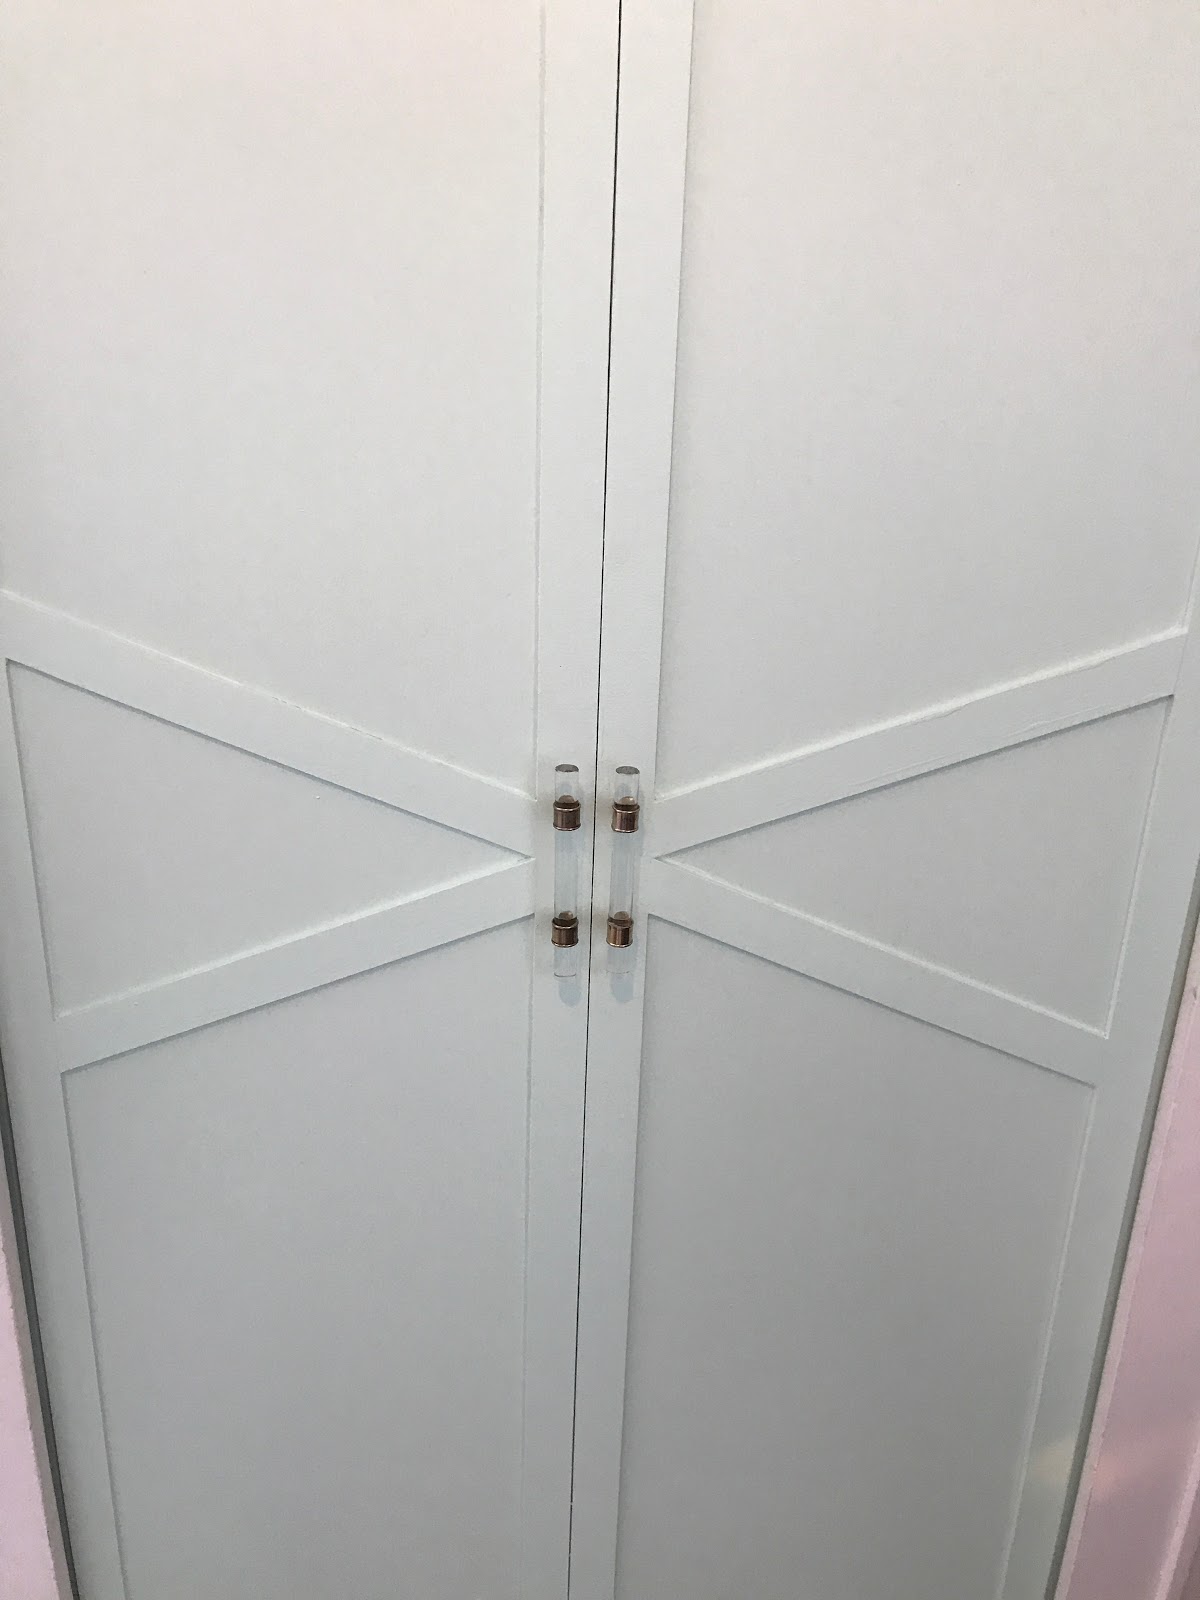
I then headed to Home Depot to purchase lattice strips to trim out the doors.  First, we installed the doors to find out how much of the doors would be covered by the trim in the opening.  We had roughly a half an inch on each side, so I framed out the rectangle shape with the lattice trim.  

The next part was going to be tricky.  I wanted to criss-cross the trim without having to use geometry and degrees and all that fancy stuff.  I laid out the trim and eye-balled it and drew in the cut line.  I must have some pretty good eyes, because we only had to modify the cut once! 


Once the trim was in, I filled the holes with wood putty, sanded, and painted the doors with three coats of  Sherwin-Williams Dewmist Delight.  I installed some super-glam handles that I found at Hobby Lobby.  Viola! An easy closet door update for a little bit of effort! Now we can't see all of our junk hiding behind the doors! 


Thursday, July 13, 2017

Easy Kitchen Update

Although we have a few projects in the cue right now, we don't have any current before or afters to show.  I thought we would do a throwback to our Ferndale kitchen, where we updated the space on a budget.  We were not as ambitious as we were in our current house; we wanted to keep the footprint of the kitchen, and the cabinets were still in good shape. Caution: these photos were not taken on a fancy camera, so they are quite blurry.


The first thing we did was take off all of the doors and drawers and sand them.  I do not have pictures of the process, but just imagine a lot of dust and sweat.  We then painted each door, drawer, and the cabinet boxes a bright white.  We made sure to use a good quality paint that would stand up to the wear and tear of a kitchen.  


The counters were a pale pink color- it looked like a ice cream shoppe.  We decided to invest some money in a black granite countertop.  We found a local granite guy that gave us a pretty good deal, all we had to do was demo the countertop ourselves!
  
He's so strong!


We ordered an undermount sink from the granite guy, so they installed the sink for us when they installed the countertops.  

Next up: updating the backsplash.  I had never installed a backsplash before, but I was pretty sure that between Jeff, myself, YouTube, and our incessant watching of HGTV, we could figure it out.  We went with a simple subway tile that came on a sheet.  This made it so much easier to install!  We were a little burned out on projects at this time, so we made a pact.  Every night we would work on the backsplash after dinner until 9 o'clock.  This way we could break up the project into smaller chunks, but we could still relax in the evening.  It took a little longer than installing tile should have, but it saved our sanity.  


You may be looking at that tile on the right and think, "Hey, that tile looks pink."  Well, it was.  Next to our stove was the chimney, which was covered with a light pink tile.  I seriously wanted ice cream every time I waked into that kitchen!  Jeff was able to look at the brick from the other side of the chimney, and it was not cute. Where cute, rustic 1920s brick should be, was ugly gray cinder block.  Wah, wah....We ultimately decided to paint over the tile.  Technically, you can't paint over tile, because it will just scratch off or rub off when you try to clean it.  We found this cool product by Rust-oleum that allows for latex paint to adhere to tile.  Now, all the tile color matches!  


The last thing to change was the mint green paint.  After a few coats of gray paint, our kitchen renovation was complete!  What do you think? 

Before: 

And after: